Introduction
A classic car isn’t just an object—it’s a rolling chapter of history. Your mission isn’t to “take a picture,” but to stage a scene that reveals its era, its purpose, and its soul. Think like a storyteller, not just a technician, and your images will transcend documentation to become shared memories.
Preparation and Editorial Angle
Do your homework before you touch the camera. Note the year, the designer, any racing pedigree, rare options, and finishing details. These cues shape the tone and enrich your captions. Then define a clear editorial angle: a period-correct “day out,” a restoration workshop mood, a “portrait” of the owner and their bond with the car, or a focus on patina and lived-in character. Build a mood board of 10–15 references (colors, textures, framings) to align your location, any styling, and the final color treatment.
Choosing the Location (true to the era)
The setting should converse with the car. Retro architecture—vintage gas stations, art deco façades, cobblestones—instantly boosts period credibility. An atelier/garage highlights mechanics and traces of time; a few tools on the bench hint at restoration. Outdoors, pick secondary roads at dawn for a clean background and minimal traffic. Do a scout at the same hour as the shoot to anticipate reflections, sun direction, and clutter—fifteen minutes on location often saves heavy retouching later.
Light: Softness and Shape
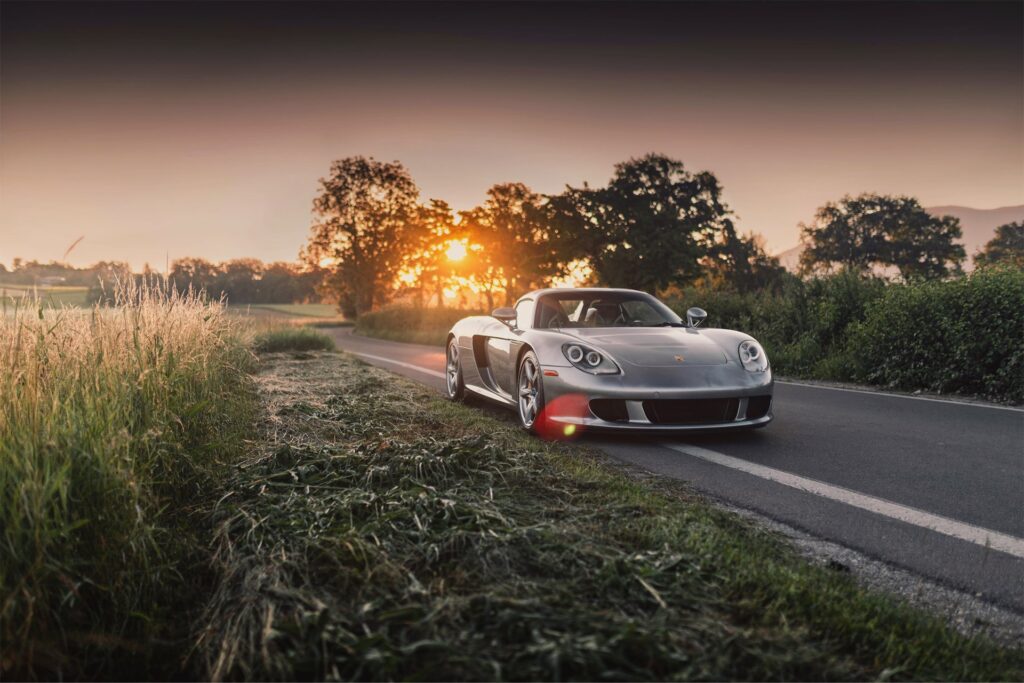
Light makes automotive photography. Golden hour gives gentle contrast and warm tones that flatter chrome and curves. A bright overcast sky acts like a natural softbox, perfect for taming harsh reflections and smoothing transitions. A controlled backlight elegantly outlines the silhouette—just add a hint of fill (reflector, white board, or a touch of flash) to keep detail in the shadows. The goal isn’t to kill reflections, but to design them so they sculpt the bodywork.
Angles and Composition (timeless winners)
Certain viewpoints never go out of style because they honor the car’s geometry. Three-quarter front and three-quarter rear are your “hero” frames: they balance volume and perspective. A low height (knee level) makes the car feel grand and authoritative, while a slight high angle can anchor it in the environment without distortion. Use leading lines—curbs, façades, road markings—to guide the eye to your subject. Watch the background: a pole “growing” out of the roof or a rogue sign can often be fixed by moving one or two meters, not in post.
Managing Reflections (without killing the shine)
Reflections are the raw material of car imagery—control them, don’t erase them. A CPL (circular polarizing filter) is your best friend to reduce stray glare on the clear coat and especially on the windshield. Rotate the ring to find the sweet spot: keep dimensionality in the paint and avoid that “matte paint” look. Move yourself around the car to “sweep” reflections—changing your angle is often more effective than moving the vehicle. Use black flags (fabric/foamboard) for negative fill: those dark bands sculpt the flanks and add volume to the curves.
Storytelling Details
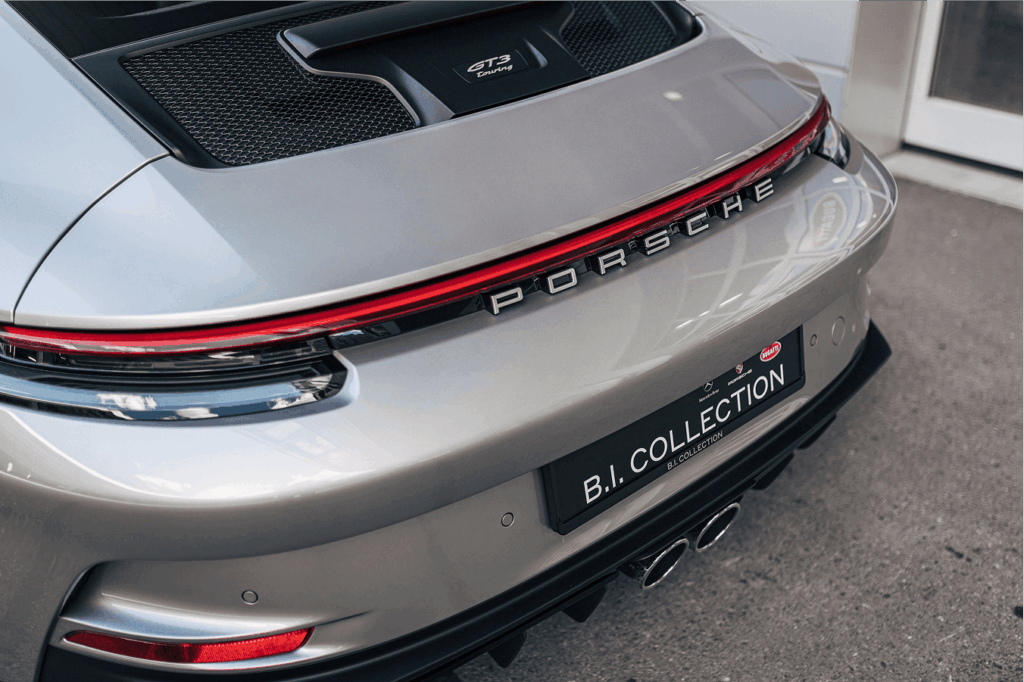
A strong set alternates wides with narrative details. Shoot enameled badges, gauges, the Bakelite steering wheel, the shift lever, and stitching—all signatures of an era. Don’t forget the year badge, exhausts, wheels, and whitewall tires. For isolation, use f/2.8–f/4; for full texture and global sharpness, stop down to f/8–f/11. Each detail becomes a fragment of history that deepens your visual story.
Gear & Settings
Lens-wise, a 24–70 mm covers most scenarios, a 70–200 mm compresses space and cleans backgrounds, and a 35 mm adds an immersive, narrative feel. Bring a tripod for precise alignment, light HDR bracketing, and perspective finesse. As a baseline, start at ISO 100, f/8–f/11, and 1/125 s or faster for static shots, with AF-S/One-Shot. An ND filter helps if you want subtle wheel blur during a controlled roll-by while keeping a comfortable aperture.
Staging & Styling
A few period-correct props—paper maps, gloves, a vintage suitcase—used sparingly can set the mood without stealing the spotlight. If you include people, opt for understated outfits that match your narrative tone. Featuring the owner adds emotional depth: a portrait at the open door, gaze off-frame, suggests intimacy with the car without a stiff pose. Keep it minimal: the car is the heroine; everything else is supporting cast.
Subtle Post-Production
Retouching should elevate, never disguise. Set a slightly warm white balance for a vintage feel while keeping neutral chrome. Use dodge & burn to carve shape and guide the eye; correct perspective gently to avoid keystoning. Remove dust and minor flaws meticulously but preserve the patina—it tells the truth of age and authenticity. Avoid over-denoising that plasticizes textures, and unify the series with discreet, consistent color grading.
Express Checklist (narrative style)
Before you press the shutter, make sure the location and background serve the story and stay spotless; slip a CPL and microfiber cloths into your bag to manage reflections and smudges. Plan at least three hero angles—three-quarter front, profile, three-quarter rear—plus six to eight evocative details to enrich the set. If it suits the context, add a portrait of the owner to strengthen the human angle. Finally, export two deliverables: one for the web (sRGB) and another for print (AdobeRGB or per your printer) to ensure faithful reproduction across mediums.
Get in Touch
Whether you’re looking to showcase your car in dramatic night scenes, capture the elegance of rain reflections, or highlight speed and motion with precision, our team is here to help. We provide professional automotive photography services tailored to your vision.